I’ve had my own struggles with MSI Intel motherboards, but after some troubleshooting, I found simple fixes that worked. Let me share what helped me get things up and running smoothly again!
To fix issues with your MSI Intel motherboard, start by checking power connections, resetting the CMOS, updating the BIOS, and verifying proper installation of components like RAM, CPU, and GPU. Follow these steps carefully to troubleshoot and resolve common problems.
In this article, we will discuss troubleshooting tips to fix common MSI Intel motherboard issues. From power supply checks to BIOS updates, we’ll cover simple steps to get your system working again.
Check the Power Supply and Connections
Power-related issues are one of the most frequent causes of motherboard problems. Here’s what to do:
-
Ensure power connectors are securely in place:
Double-check that the 24-pin ATX connector and the 8-pin CPU power connector are firmly attached to the motherboard.
-
Verify the PSU’s functionality:
Use a PSU tester or swap the PSU with a known working one to ensure it’s delivering power correctly.
-
Check for faulty power buttons or cables:
If your system doesn’t power on at all, it could be a simple case of a faulty power switch or loose front panel connectors.
Reset CMOS (BIOS Settings)
The CMOS stores BIOS settings, and resetting it can resolve boot or configuration issues. Follow these steps:
- Shut down your system and disconnect it from the power outlet.
- Locate the CMOS battery on your motherboard. It’s a small, coin-shaped battery.
- Remove the battery for about 5-10 minutes to allow the settings to reset.
- Put the battery back in, reconnect the system, and turn it on.This will revert the BIOS to its default settings.
You can also reset the CMOS by using the jumper on the motherboard. Refer to your motherboard manual for exact instructions.
Update or Flash the BIOS
BIOS updates can resolve compatibility issues and add new features. Here’s how to update your MSI Intel motherboard BIOS:
- Visit MSI’s official website and navigate to the support section for your specific motherboard model.
- Download the latest BIOS update file, usually a compressed file (e.g., .zip).
- Extract the file to a USB drive formatted in FAT32.
- Enter the BIOS by pressing DEL or F2 during boot.
- Use the M-Flash utility in the BIOS to select the file from your USB drive and follow the on-screen instructions.
Updating the BIOS can solve issues related to newer hardware not being recognized, stability problems, and random crashes.

Inspect and Reseat RAM
Memory (RAM) installation errors are common culprits for no boot or BSOD (Blue Screen of Death) issues:
-
Ensure the RAM sticks are properly seated:
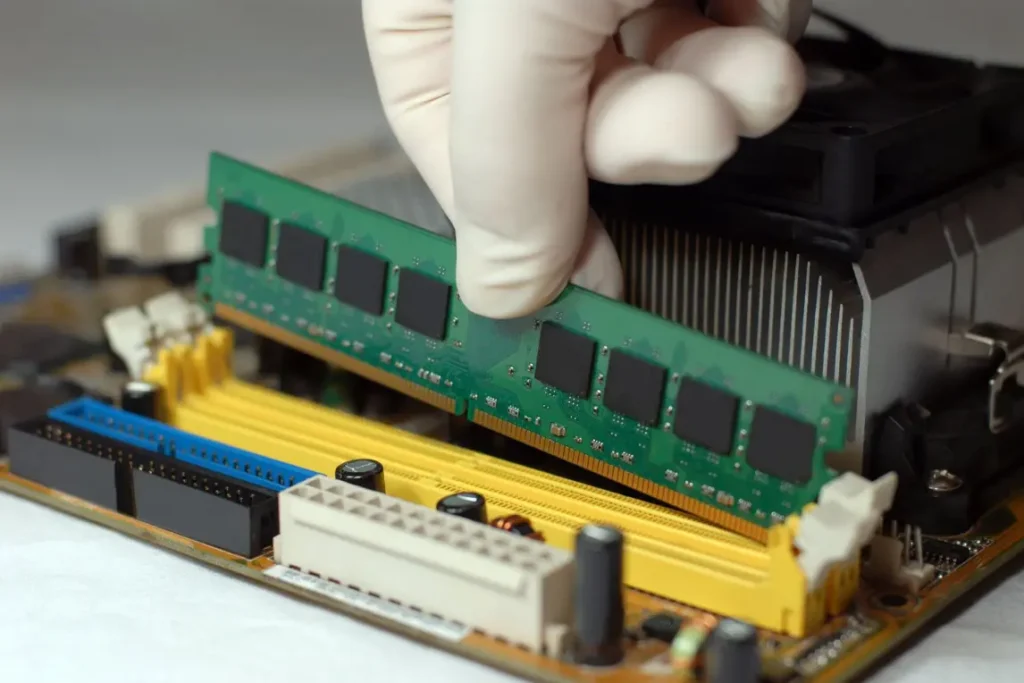
RAM should “click” into place on both sides when correctly inserted. If one side is not fully clicked in, it can cause the system to malfunction.
-
Use the correct DIMM slots:
Refer to your motherboard manual for the recommended RAM configuration, especially if you’re using dual-channel memory.
-
Test each RAM stick individually:
Remove all but one stick of RAM and try to boot the system. Rotate each stick to isolate any faulty modules.
-
Run a memory test:
Use a tool like MemTest86 to check for memory errors, which can cause system instability.
Check CPU and Cooler Installation
The CPU and cooler play a vital role in the motherboard’s operation:
-
Ensure the CPU is correctly aligned:
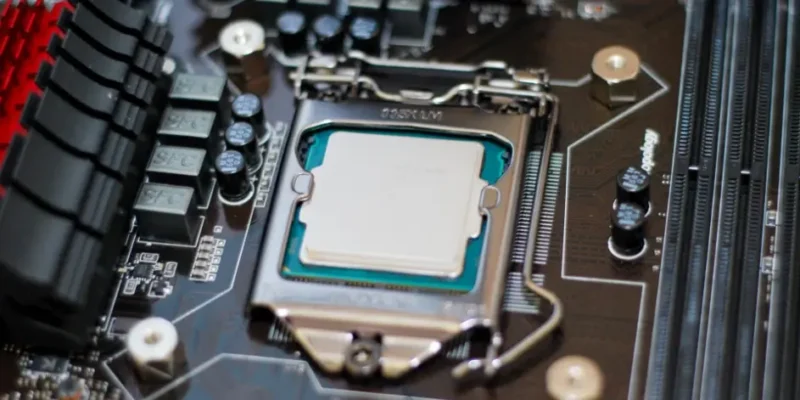
Make sure the CPU is placed in the socket with the correct orientation, typically indicated by a small triangle or marking.
-
Check for bent pins:
Check the CPU socket for any bent or broken pins. Bent pins can cause improper connections, leading to boot failures.
-
Confirm proper cooler installation:
An improperly seated cooler can lead to CPU overheating, causing the system to shut down or fail to boot. Ensure the cooler is firmly attached and that thermal paste is applied correctly.
Verify Graphics Card Installation
If your system powers on but you’re not getting any display output:
- Check that the graphics card is seated firmly in the PCIe slot. Sometimes, even a slight misalignment can cause display issues.
- Ensure power cables are connected: High-end GPUs require additional power via 6-pin or 8-pin PCIe connectors. Double-check that these cables are properly connected to the GPU.
- Test the card in a different system: If possible, test the graphics card in another working system to rule out GPU failure.
Look for Short Circuits or Grounding Issues
Motherboards can short-circuit if they are not properly grounded. To avoid this:
Ensure standoffs are installed correctly:
The motherboard should not directly touch the metal case. It should be mounted on standoffs that provide a gap between the board and the case.
- Check for loose screws or metal objects: Any loose metallic object can cause a short circuit, damaging the motherboard or causing it to malfunction.
Test Peripheral Components Individually
If you’ve ruled out the above issues, the problem may lie with one of your peripheral components:
-
Disconnect all non-essential components:
Start by disconnecting everything except the CPU, one stick of RAM, and the motherboard. This includes storage drives, USB devices, and the GPU (if your motherboard has integrated graphics).
-
Test each component individually:
Reconnect one component at a time and try to boot the system. This will help isolate which part is causing the issue.
Monitor System Temperatures
Overheating can cause random shutdowns, blue screens, and other stability issues:
- Use BIOS or software tools to check CPU and system temperatures. High temperatures (over 80°C) indicate cooling problems.
- Ensure fans are working properly: Check that all system and CPU fans are spinning and there are no obstructions to airflow.
- Clean the system of dust: Dust buildup can block airflow and cause components to overheat. Use compressed air to clean out dust from the case, fans, and heat sinks.
Consider Motherboard Replacement or MSI Support
If you’ve tried all of the above steps and your MSI Intel motherboard is still not working, the motherboard itself may be defective:
-
Contact MSI support:
They may offer further troubleshooting tips or approve an RMA (Return Merchandise Authorization) if the board is under warranty.
-
Test with a different motherboard:
If you have access to a spare motherboard, try swapping it out to confirm if the motherboard is the problem.
Will B760 support 14th gen?
Yes, B760 motherboards are designed to support Intel’s 13th and 14th generation processors. Make sure you have the most recent BIOS version installed to ensure the best compatibility and performance.
Can I use Intel and AMD in same motherboard?
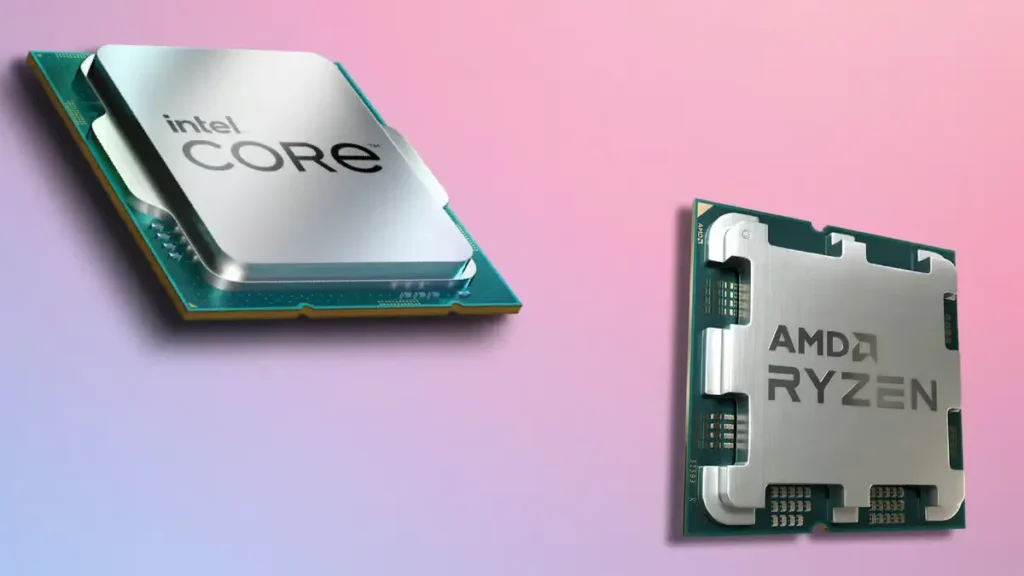
No, you cannot use Intel and AMD CPUs in the same motherboard. Each CPU brand requires a specific motherboard socket and chipset designed for that brand. You must choose one type for your build.

Is AMD still better than Intel?
Whether AMD is better than Intel depends on your specific needs. AMD processors often offer more cores and threads for multitasking, making them great for gaming and content creation. Intel CPUs typically excel in single-core performance, which can be beneficial for certain applications. Ultimately, the best choice depends on factors like budget, usage, and performance preferences.
Can I replace an Intel processor with an AMD?
No, you cannot directly replace an Intel processor with an AMD processor on the same motherboard. Intel and AMD CPUs require different motherboard sockets and chipsets, so you would need to change the motherboard to switch from Intel to AMD.
Can I install AMD on Intel motherboard?
No, you cannot install an AMD processor on an Intel motherboard. Each processor brand requires a specific socket type and chipset compatible with its architecture. You would need a motherboard designed for AMD CPUs to use one.
How can I boost my MSI CPU?
To boost your MSI CPU:
- Enable Turbo Boost in BIOS.
- Overclock by adjusting the multiplier and voltage.
- Update BIOS for stability.
- Improve cooling by cleaning fans and heatsinks.
- Set power settings to High Performance in your OS.
Monitor temperatures during adjustments.
What is power limit in MSI?
In MSI motherboards, the power limit refers to the maximum power (measured in watts) that the CPU can draw from the motherboard. This limit helps ensure that the CPU operates within safe thermal and electrical parameters, preventing overheating and potential damage. Users can often adjust these limits in the BIOS settings to optimize performance, especially during overclocking.
FAQs
Does Intel CPU work with MSI motherboard?
Yes, Intel CPUs work with MSI motherboards if the motherboard supports the specific Intel socket type and chipset. Always check compatibility and consider updating the BIOS for newer processors.
Is MSI good for motherboard?
MSI is known for producing reliable and high-quality motherboards, offering good performance, features, and durability. They cater to various users, from gamers to professionals, making them a popular choice.
How do I fix Intel 13th and 14th generation problems?
To fix Intel 13th and 14th generation problems, ensure BIOS is updated, check for overheating, verify RAM and CPU installation, and ensure compatibility with your motherboard and other components.
How to enforce Intel limits on MSI motherboard?
To enforce Intel limits on an MSI motherboard, access the BIOS settings and navigate to the CPU configuration section. Adjust power limits, thermal limits, and performance settings according to your preferences.
How to increase CPU power consumption?
To increase CPU power consumption, adjust settings in the BIOS or UEFI by raising the CPU voltage and enabling features like Intel Turbo Boost. Ensure adequate cooling to prevent overheating.
Conclusion
In conclusion, troubleshooting MSI Intel motherboard issues can often be resolved by checking power, resetting CMOS, and updating the BIOS. Ensuring proper installation of components like RAM and CPU is crucial. If problems persist, contacting MSI support is the next step.

Leave a Reply