Have you turned on your PC and noticed a strange yellow light on motherboard? You’re not alone. This little light can feel like a warning sign—but don’t panic. It doesn’t always mean something serious. In fact, understanding what the yellow light means can help you quickly figure out what’s wrong and how to fix it.
In this guide, we’ll break everything down in easy steps. You’ll learn:
- What a yellow light on a motherboard really means
- Why it appears (common causes)
- How to troubleshoot and fix it yourself
- When to get professional help
- Tips to prevent it from happening again
Let’s get started.
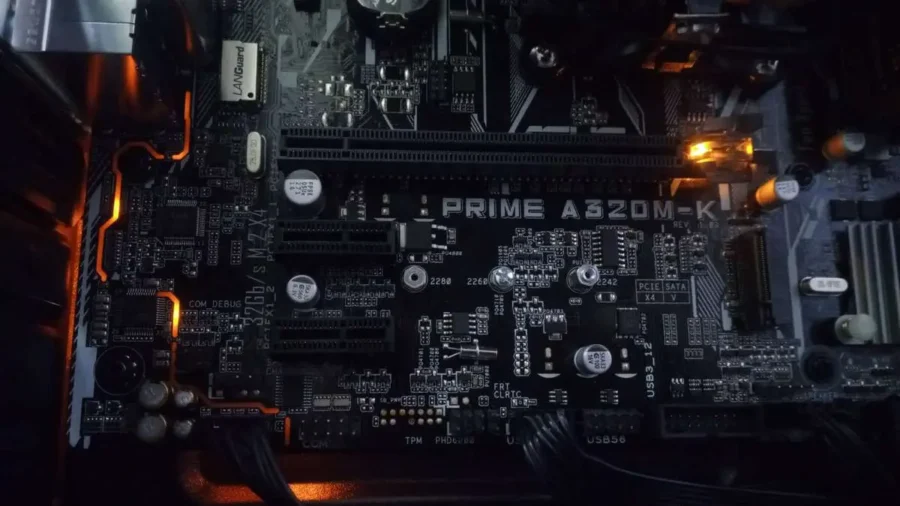
What Is the Yellow Light on a Motherboard?
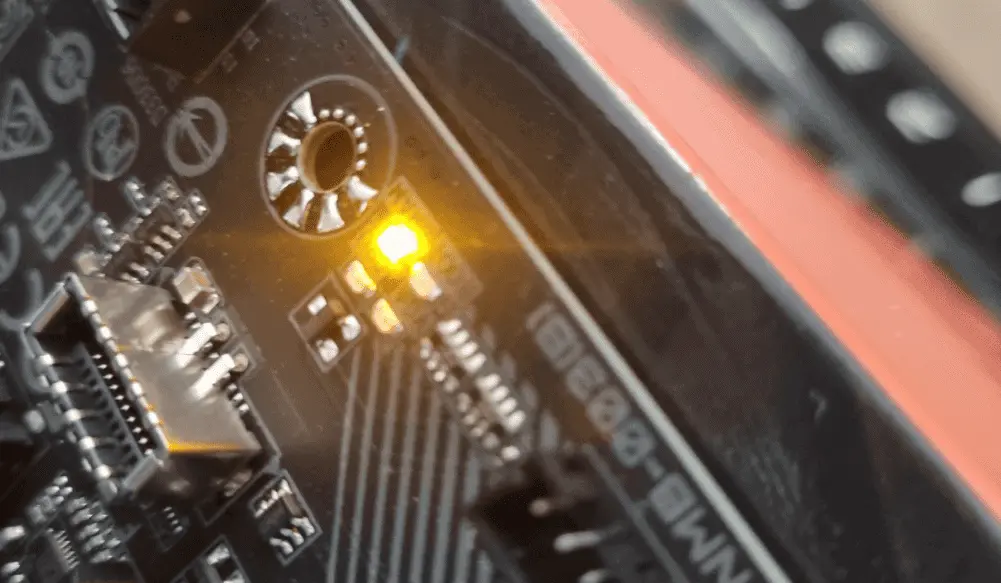
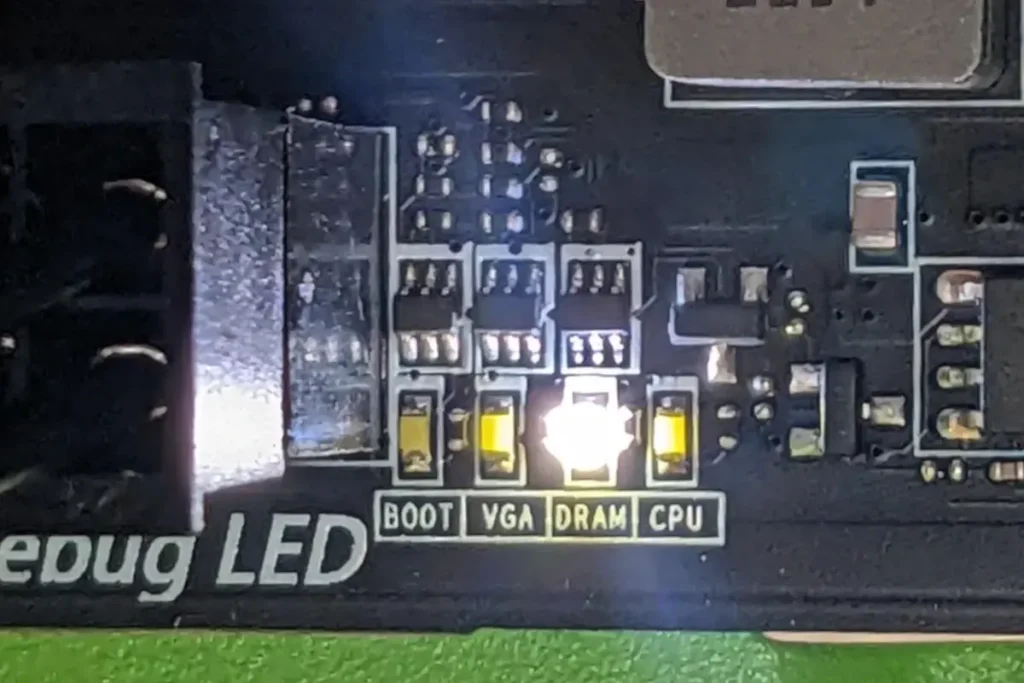
Modern motherboards come with diagnostic LEDs. These small lights help users figure out what’s wrong when the PC doesn’t boot up properly. Each color usually stands for something different.
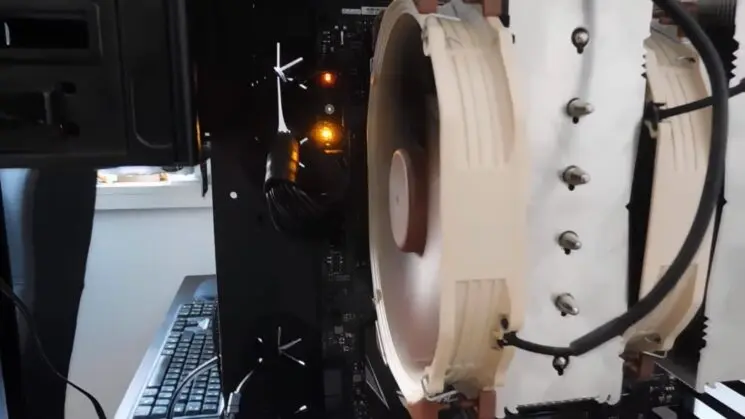
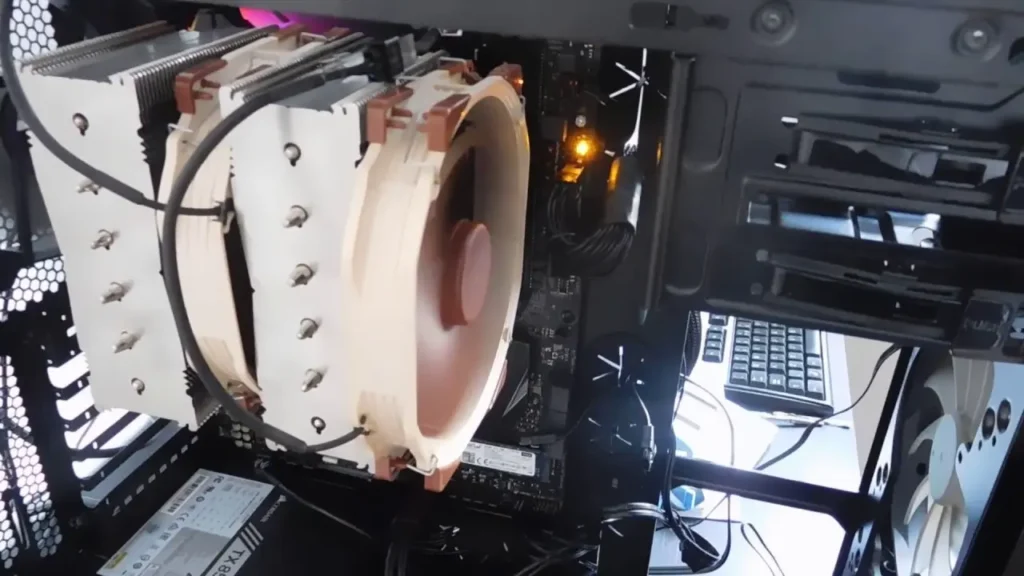
When you see a yellow (or amber) light on your motherboard, it’s trying to tell you there’s a problem. But the exact meaning depends on the brand of your motherboard.
Here’s a quick summary of what the yellow light usually means:
| Motherboard Brand | Yellow Light Meaning |
| ASUS | RAM or DRAM issue |
| MSI | CPU or RAM-related issue |
| Gigabyte | Could mean power or RAM problem |
| ASRock | Often DRAM or CPU trouble |
⚠️ Tip: Check your motherboard manual for exact meanings. Each brand can label things slightly differently.
Common Reasons for Yellow Light on Motherboard
Let’s break down the main causes of a yellow light:
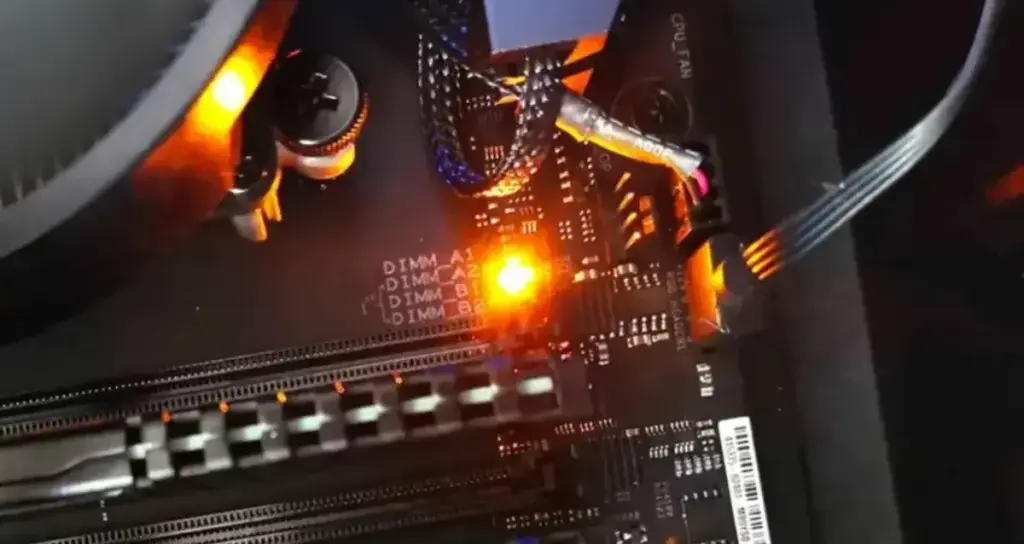
1. RAM (Memory) Not Working Properly
- RAM might not be seated correctly
- Incompatible or faulty RAM stick
- RAM slot is dirty or damaged
2. CPU Issues
- CPU not properly installed
- Bent pins or socket problems
- Wrong CPU for your motherboard
3. Power Problems
- PSU (power supply unit) not giving enough power
- 24-pin or 8-pin power cable not fully connected
4. Loose or Misconnected Cables
- Internal cables not seated right
- Motherboard power connectors partially plugged in
5. Faulty Components
- One of your components (RAM, GPU, CPU) is dead or failing
6. BIOS or Firmware Glitch
- Outdated BIOS may not support your CPU or RAM
- BIOS needs to be reset or updated
How to Fix Yellow Light on Motherboard (Step-by-Step)
Now that you know the possible causes, let’s go through how to fix it.
Step 1: Turn Everything Off and Unplug
Before you touch anything:
- Shut down your PC
- Unplug it from the wall
- Wait a few seconds to drain power
Why? This keeps you safe from electric shocks and protects your PC components.
Step 2: Check RAM First
Since the yellow light often means a RAM issue, start here.
Do This:
- Remove all RAM sticks
- Clean the contacts gently with a soft eraser or microfiber cloth
- Reinsert one RAM stick into the first slot
- Boot the PC
If the light goes away, the RAM is likely fine.
Try each RAM stick one by one to test them. Also, try different slots.
If the yellow light disappears after changing RAM sticks, one of your RAM modules or slots may be faulty.
Step 3: Inspect CPU
If RAM isn’t the issue, check the CPU.
Steps:
- Remove the CPU cooler
- Gently take out the CPU
- Look for bent pins or debris
- Clean and reinstall the CPU carefully
- Apply new thermal paste
- Reinstall the cooler
Important: Make sure the CPU is supported by your motherboard model.
Step 4: Verify Power Connections
Loose cables are a common issue.
What to Check:
- 24-pin motherboard power cable
- 8-pin CPU power cable
- GPU power cables (if you have one)
Unplug and replug them securely. A simple reseat often fixes this.
Step 5: Clear the CMOS / Reset BIOS
Sometimes the BIOS is confused or holding onto old settings.
How to Clear CMOS:
- Find the CMOS battery (round silver disc)
- Remove it for 5-10 minutes
- Put it back in
Or use the CMOS jumper if your motherboard has one.
This will reset BIOS settings and might solve the issue.
Step 6: Try Minimal Boot (Breadboarding)
Take your PC down to the basics. This is called a “breadboard test.”
Setup:
- Motherboard outside the case
- One RAM stick
- CPU with cooler
- Power supply
- No storage or GPU (unless required)
Turn it on and watch the yellow light. If it goes away, the issue may be something else like the case, GPU, or a short circuit.
Step 7: Check Motherboard Manual
Go to your motherboard manual or look up the support page online. Manufacturers provide LED debug guides.
Search for phrases like:
- “ASUS yellow light meaning”
- “MSI debug LED explanation”
These documents will give exact help for your specific board.
When to Replace Components
If you’ve done all the above and still have the yellow light, it may be time to test or replace hardware.
Test These:
- RAM in another computer
- Different power supply
- New CPU (if supported)
Still not working? Your motherboard may be faulty.
When to Seek Professional Help
If you’re not confident opening your PC or the yellow light doesn’t go away even after all steps, it’s okay to ask for help.
Here’s when to go to a repair shop:
- Yellow light stays on after testing all components
- PC shuts off immediately or won’t post
- You see physical damage (burn marks, bent pins)
- You’re worried about damaging parts
A trained technician can test your system using spare parts and tools.
Tips to Avoid Yellow Light Issues in the Future
Now that you know how to fix it, let’s prevent it from coming back.
1. Handle Hardware with Care
Always install parts gently and make sure everything clicks into place.
2. Use Compatible Parts
Before upgrading, check your motherboard’s compatibility with:
- RAM (speed and type)
- CPU (model and socket)
- PSU (enough wattage)
3. Keep BIOS Updated
Visit the motherboard brand’s website regularly. BIOS updates can fix bugs or add support for new hardware.
4. Avoid Cheap Power Supplies
Low-quality PSUs can cause strange problems. Invest in a well-known, certified brand.
5. Clean Your PC
Dust buildup can cause bad connections and overheating. Use compressed air every few months.
Can the Yellow Motherboard Light Be Caused by a Faulty USB Device?
Yes, a faulty or shorted USB device can sometimes trigger the yellow motherboard light. If a USB device is drawing too much power or has a damaged connector, it may prevent the system from completing the boot process. This can confuse the motherboard’s diagnostic system and result in a yellow LED. To test this, unplug all USB devices—especially external hard drives or front panel USB hubs—and try booting the system. If the yellow light disappears, reconnect devices one at a time to find the culprit.
Does Motherboard Model Affect Yellow Light Behavior?
Absolutely. Not all motherboards behave the same way when it comes to diagnostic LEDs. While ASUS may use a yellow light to show RAM issues, another brand like ASRock might signal a power or CPU problem with the same color. Even within one brand, behavior may differ by chipset or model year. This is why checking your exact model’s manual or support page is so important—it helps you avoid guessing and target the real issue faster.
Can a BIOS Update Fix a Persistent Yellow Light?
In many cases, yes. A BIOS update can fix bugs that prevent proper hardware detection—especially after installing a new CPU or memory. Older BIOS versions might not fully support newer RAM types or processor microcodes, causing the motherboard to misinterpret the boot status and show a yellow light. If you’ve recently upgraded your PC, updating your BIOS through a safe method like Q-Flash, EZ Flash, or FlashBack may eliminate the warning light entirely.
Can a Short Circuit Inside the Case Trigger the Yellow Light?
Yes, internal short circuits—often caused by a loose screw, misplaced standoff, or poorly aligned motherboard—can result in warning LEDs lighting up. These shorts can interfere with power delivery or signal paths, especially to memory or CPU components. To rule this out, remove the motherboard from the case and perform a breadboard test. If the yellow light disappears when the board is outside the case, the issue is likely a physical grounding or mounting error.
Can Dust and Dirt Really Cause the Yellow Light Issue?
Surprisingly, yes. A buildup of dust in the RAM slots or around power connectors can interfere with electrical contact. Even if the components are fine, poor connectivity caused by grime can result in the motherboard failing its memory check—triggering the yellow light. Cleaning the system with compressed air and gently brushing out the slots using a soft brush or microfiber cloth can restore reliable contact and resolve the issue without replacing any parts.
FAQs
Q1: Can a yellow light on the motherboard mean the GPU is bad?
Not usually. Yellow light usually relates to RAM or CPU, but on some motherboards, it may also show GPU errors. Check your manual.
Q2: Is the yellow light dangerous?
No. It’s just a warning that something isn’t working right. It won’t damage your PC, but ignoring it can lead to bigger issues.
Q3: What if I see multiple lights (yellow and red)?
Multiple lights might show multiple issues. For example, red for CPU and yellow for RAM. Tackle one issue at a time.
Q4: My PC works fine, but the yellow light is still on. Why?
Some motherboards keep a debug light on even after boot. If everything else works perfectly, it may not be a problem. Check BIOS logs or disable debug LEDs in settings.
Final Thoughts
A yellow light on your motherboard doesn’t have to ruin your day. It’s your PC’s way of saying, “Hey, something isn’t right—please check me!”
In most cases, the fix is simple: reseat RAM, reset BIOS, or check cables. Following the steps above can help you diagnose the issue without spending money on repairs.
And remember, taking care of your hardware with regular cleaning and updates goes a long way in keeping your PC healthy.
Need help figuring out your exact motherboard model? That’s where you start. Knowing your board helps you understand what every light or beep means.
Leave a Reply